
Connect 800.com with Zoho CRM to automatically sync call data with your CRM and keep your customer records up to date.
With this integration, you can create or update contacts, log inbound and outbound calls, trigger automated workflows, and streamline follow-up—helping your team save time and manage customer interactions more efficiently.
Before You Begin
Before setting up the integration, make sure you have:
- An active 800.com account
- A Zoho CRM account with permission to manage
Step 1: Getting Started
- Log in to your 800.com account
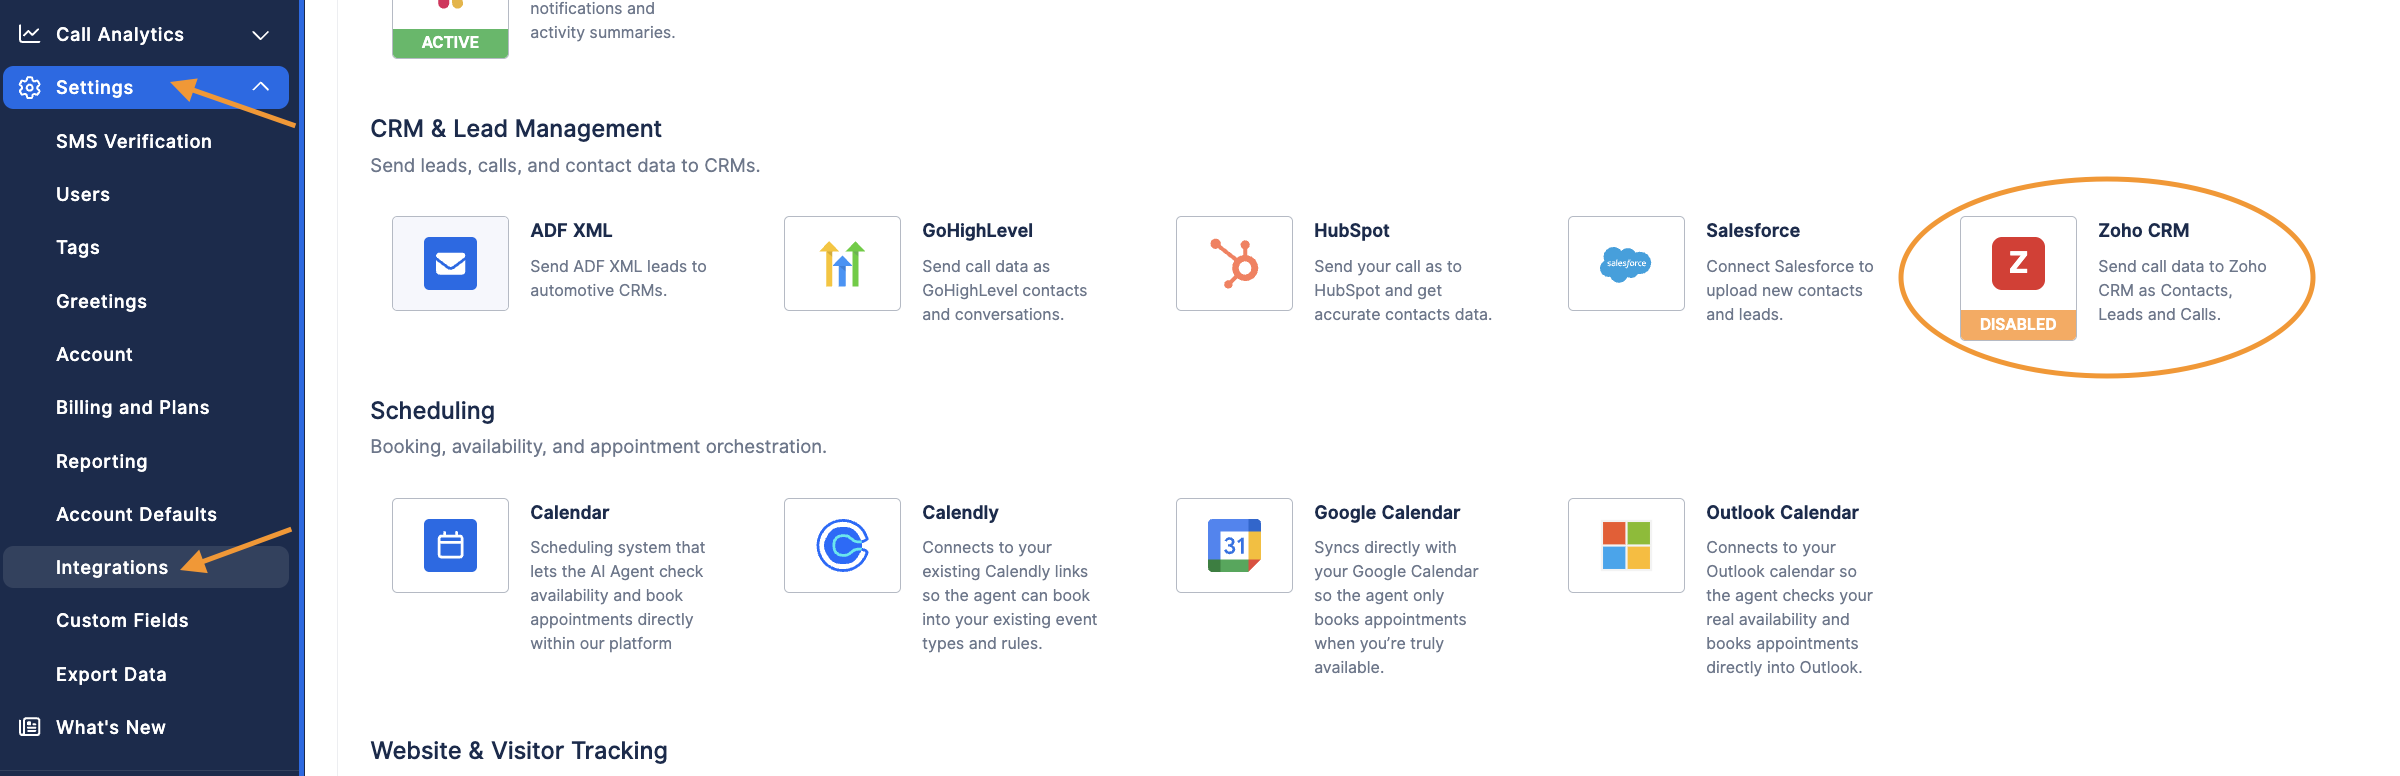
- Navigate to Settings > Intregrations
-
Scroll down to the CRM & Lead Management section > select Zoho CRM
-
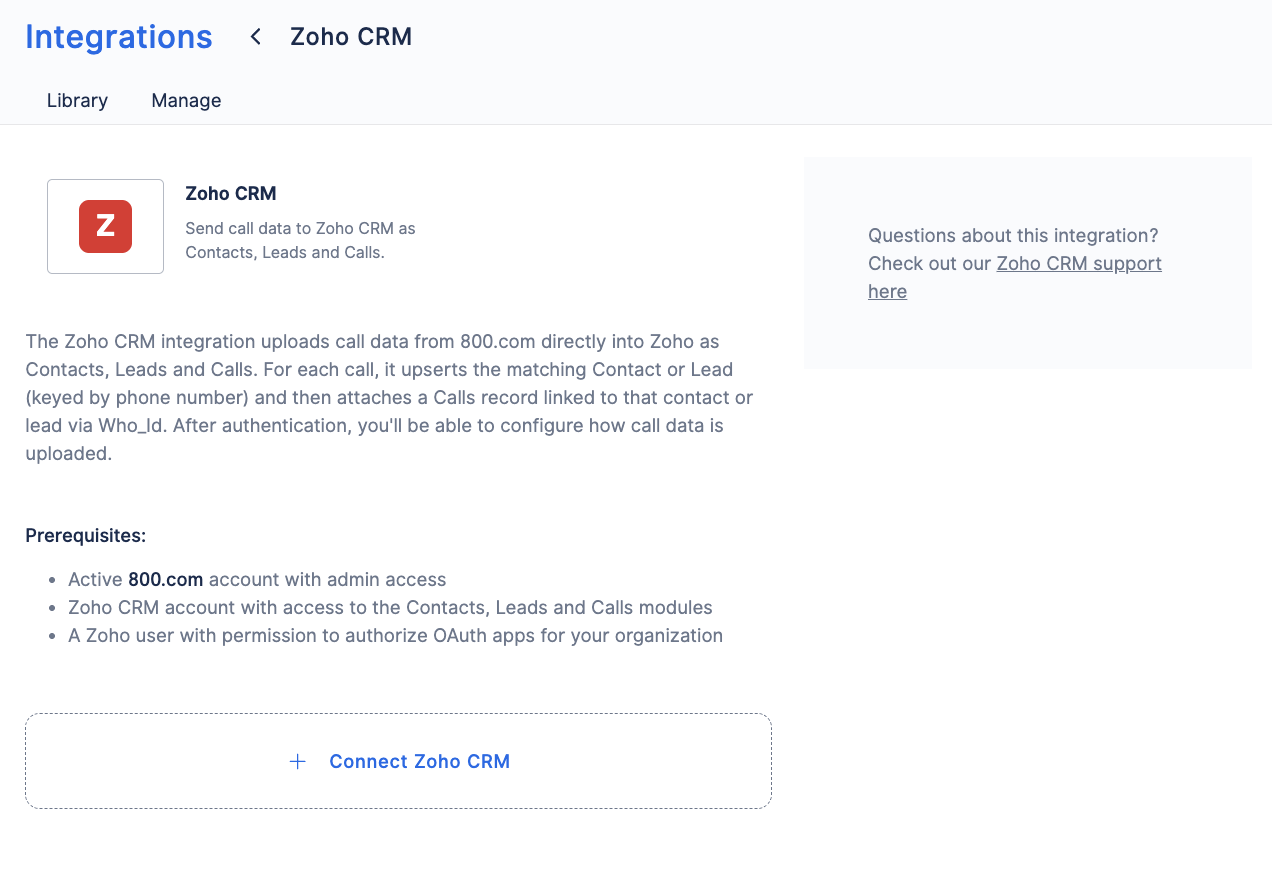
Click Connect Zoho CRM
Step 2: Connecting to Zoho CRM
-
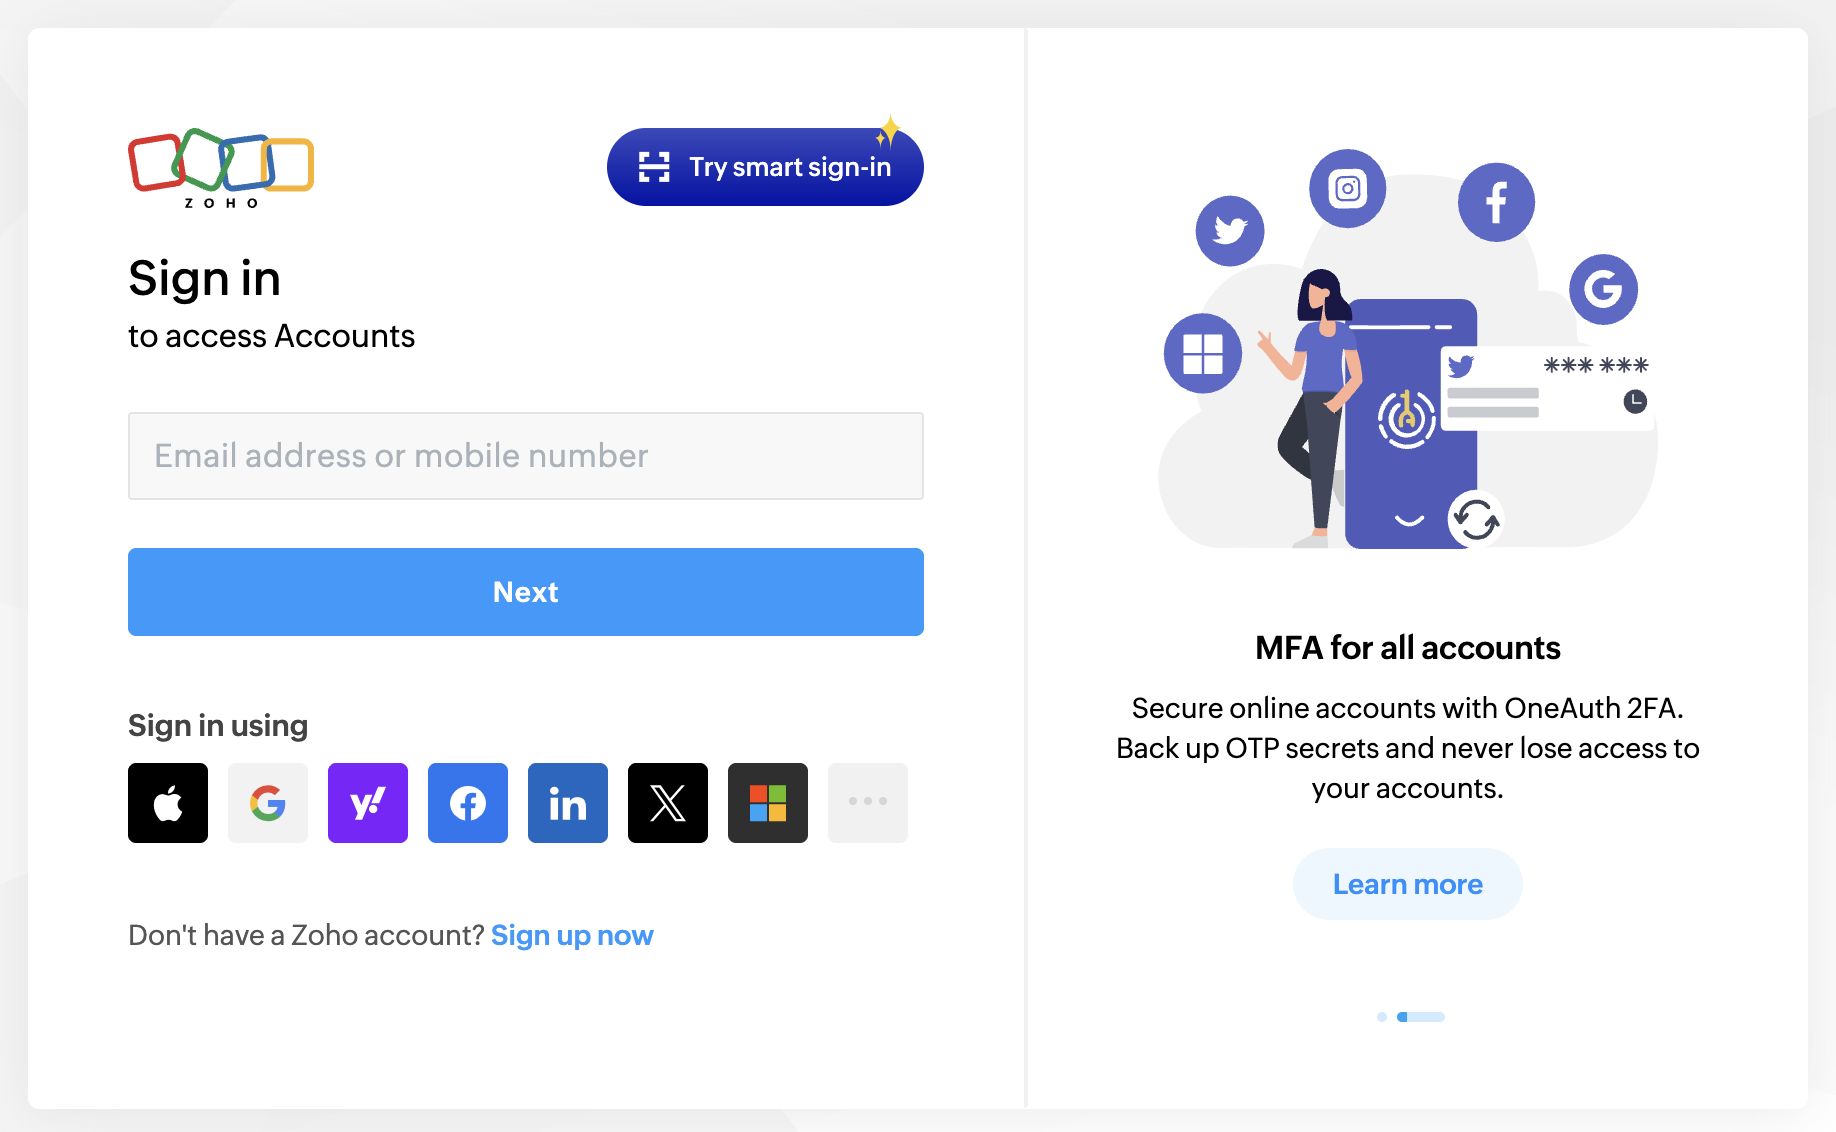
Log in to Zoho CRM.
-
Allow access to Zoho CRM > click Accept
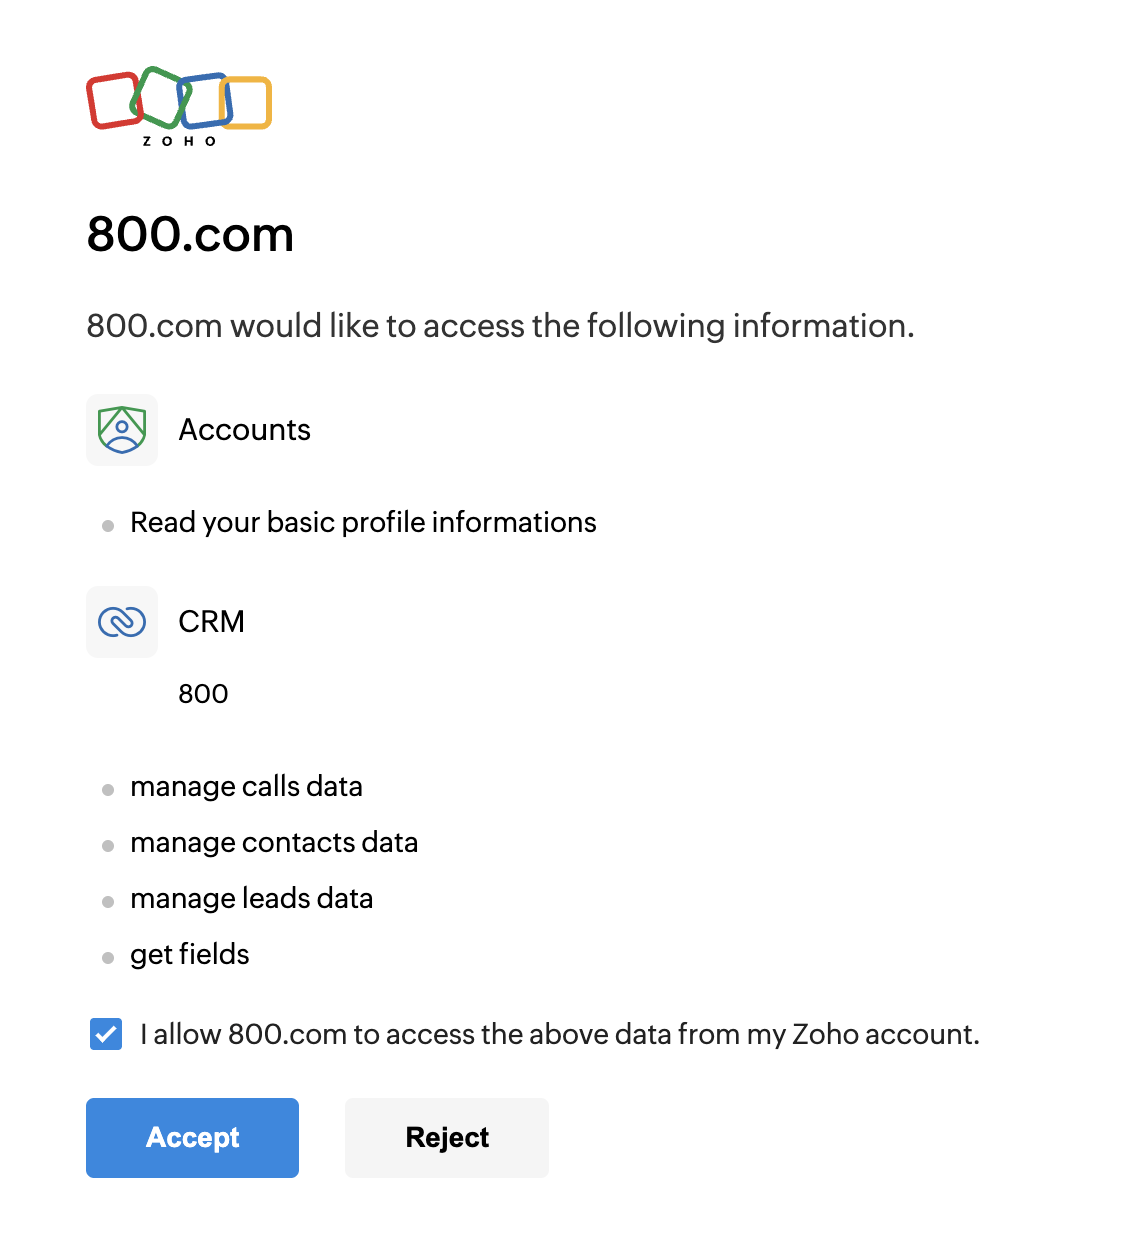
- After you click Accept, you will be redirected to your 800.com to complete the setup for your Zoho CRM integration
Setting Up Your Configuration
Now that you have made the connection to Zoho CRM it is time to setup your configuration.
Complete the following information:
- Upload Trigger - Choose when to trigger the upload to Zoho CRM.
Tip: After Call Ends is recommended as it includes call duration and other post-call data.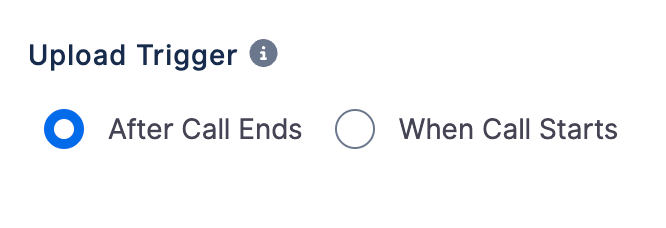
-
Minimum Call Duration (Seconds) - Only upload calls if they are longer than the specified time duration.
Tip: Set to 0 or leave blank to upload all calls regardless of length.
-
Restrict To Receiving Numbers - Optionally restrict uploads to specific receiving numbers.
Tip: Leave empty to upload calls from all receiving numbers.

-
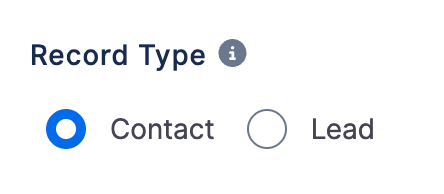
Record Type - When a call comes in, 800.com will look for an existing record of this type.
Note: If no existing records are found, a new one will be created.
-
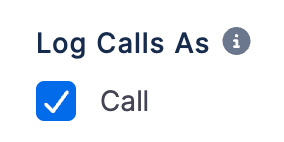
Logs Calls As - Select how call information is logged in Zoho CRM.
-
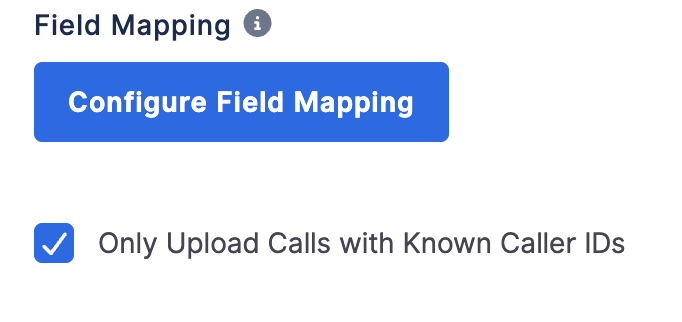
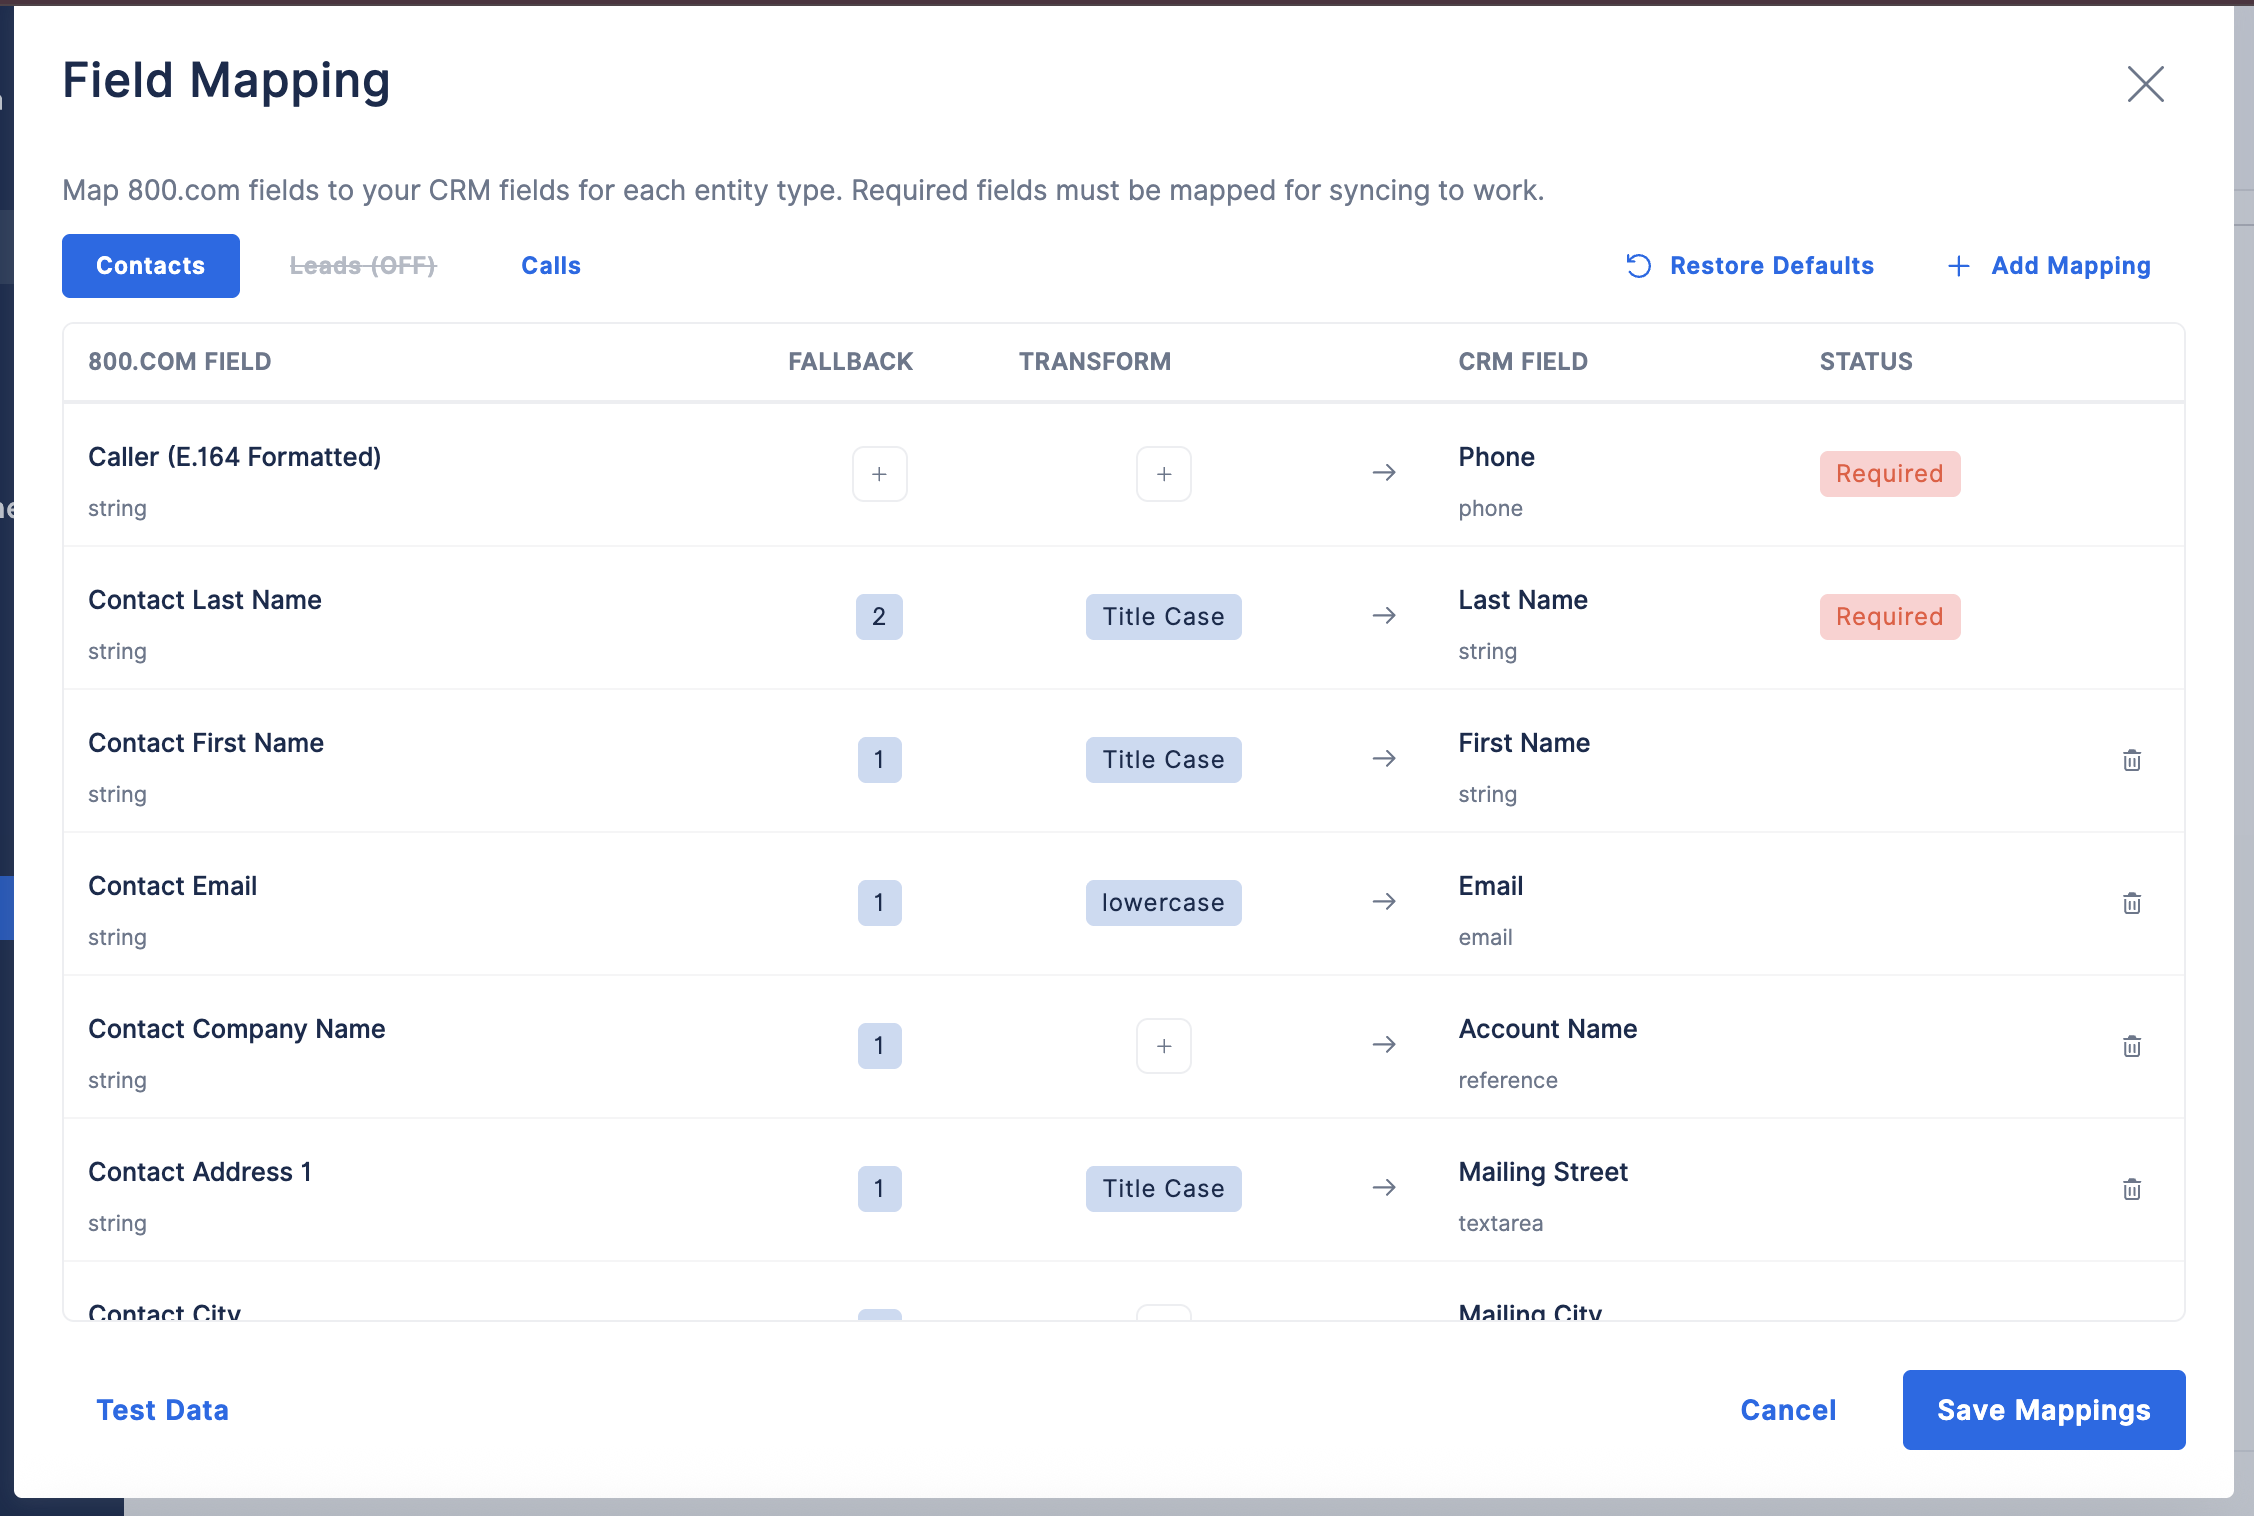
Field Mapping - Map 800.com fields to your Zoho CRM fields for each entity type.
Note: Required fields must be mapped for syncing to work.
-
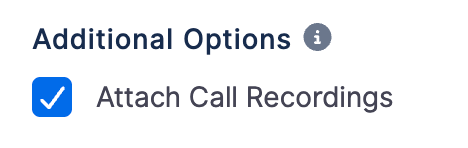
Additional Options - This is for enriching your CRM records.
Once your Configuration is complete, click Activate.
Verify Your Connection
Under Connection > click Verify
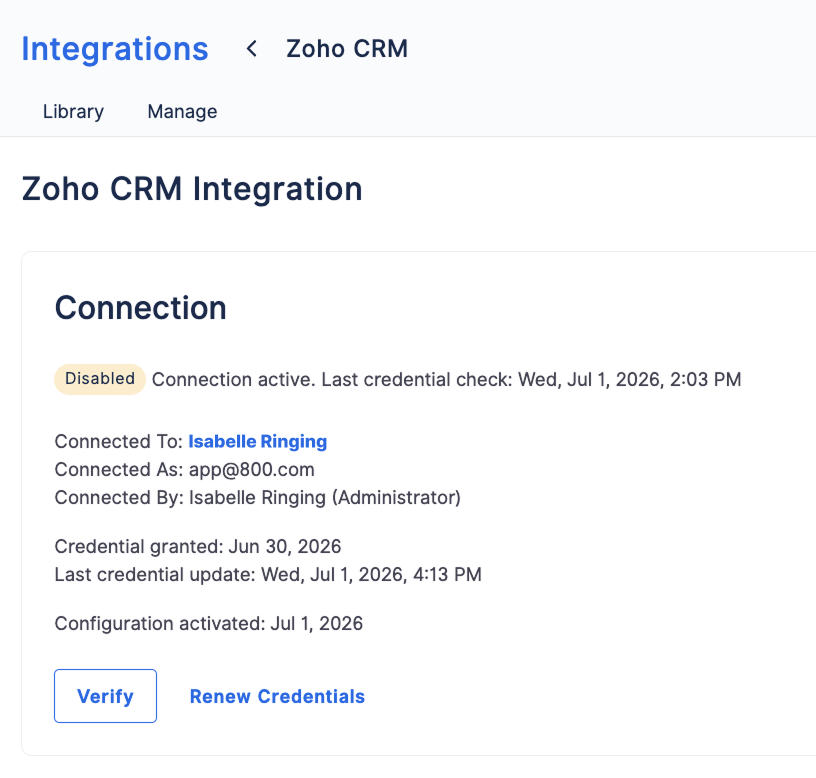
Once verified you will see a green message at the top of the dashboard confirming the connection is working correctly

Renew Credentials
Over time, your integration credentials may expire and need to be renewed to maintain a secure connection. When this happens, 800.com will notify you through the Alert Center so you can quickly reconnect your integration and avoid interruptions. Here is how to renew your credentials:
Under Connection > click Renew Credentials
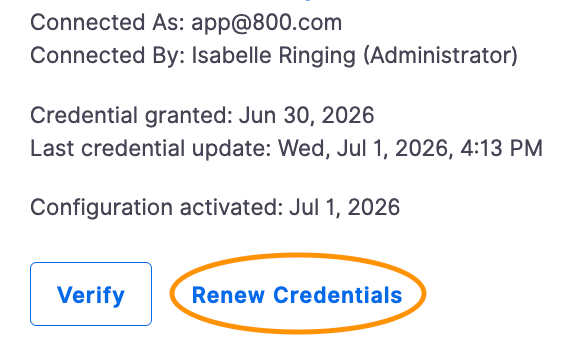
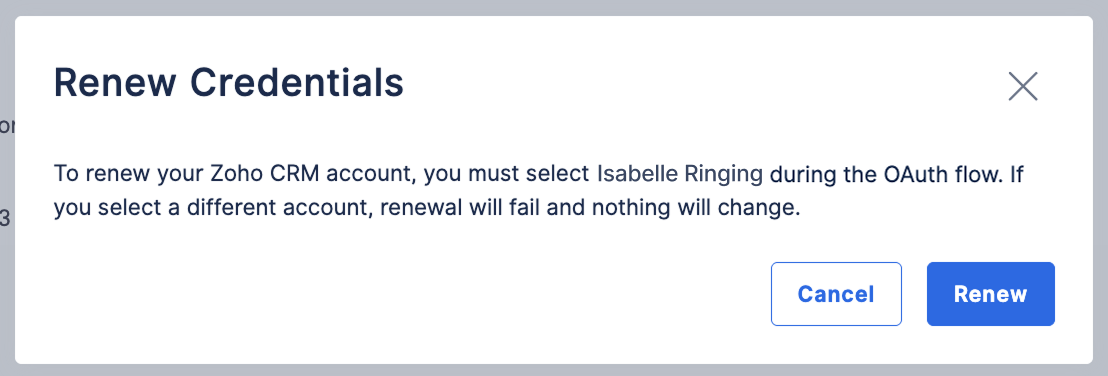
After clicking Renew Credentials you will see this message > click Renew.
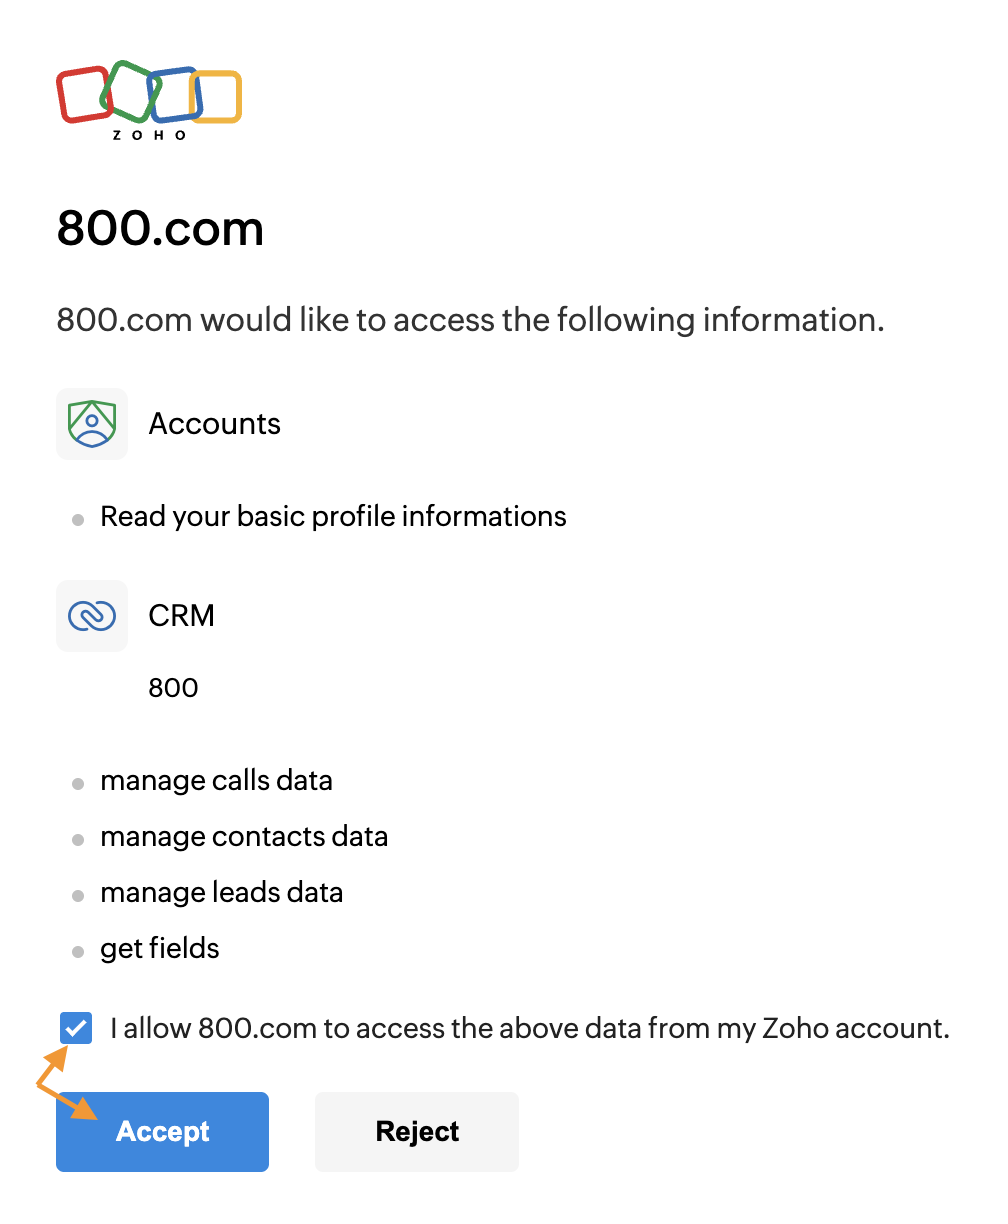
Next you will need to check the box to allow 800.com access to the Zoho account > click Accept.
Once you have clicked Accept, your credentials are Renewed!
Step 3: Editing/Deactivating Your Configuration
Editing Your Configuration
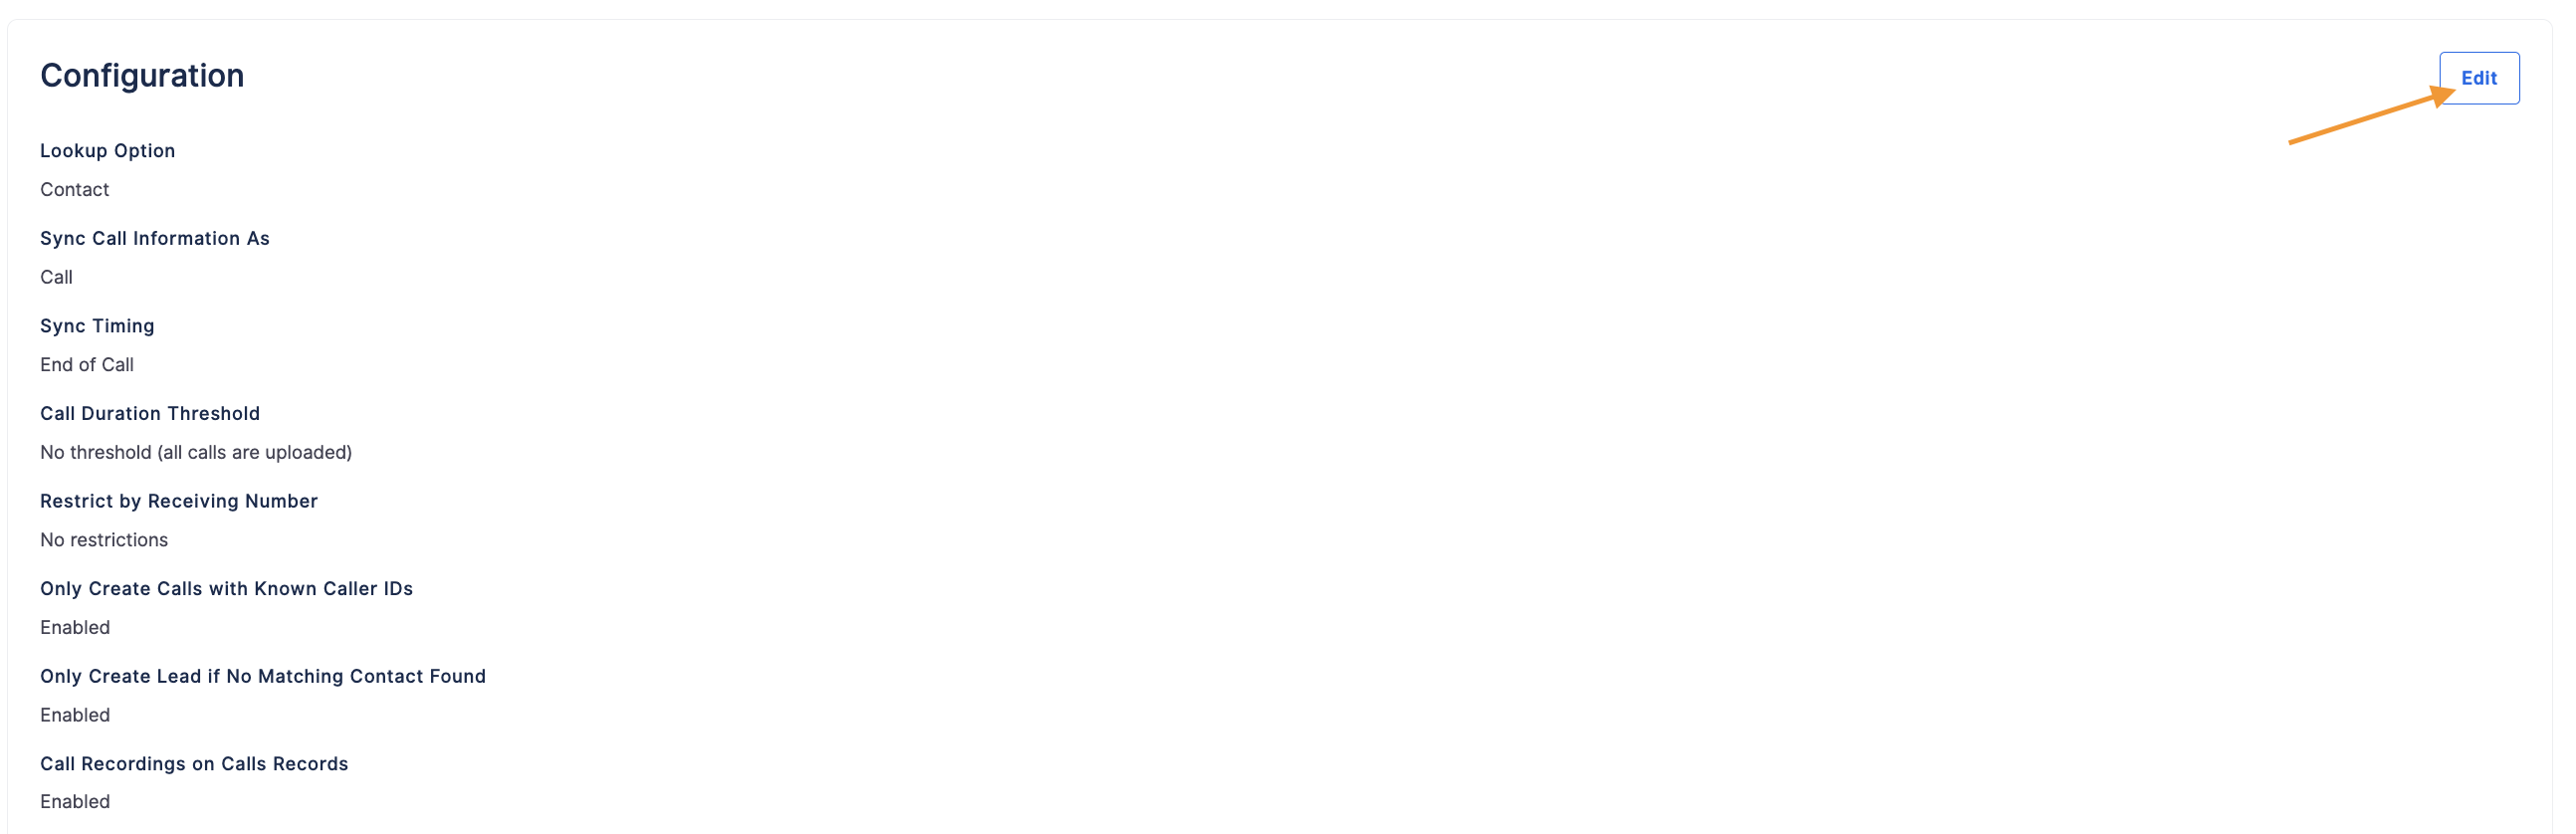
After completing your configuration if you need to make changes to your configuration, you can do so by clicking Edit.
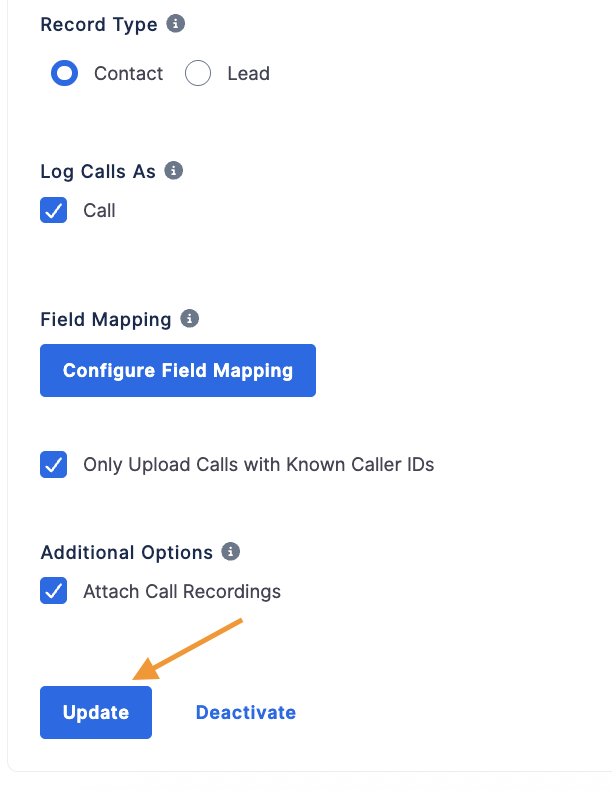
Make any changes that you may need and then click Update.
Deactivating Your Configuration
If you no longer need your configuration you can deactivate it.
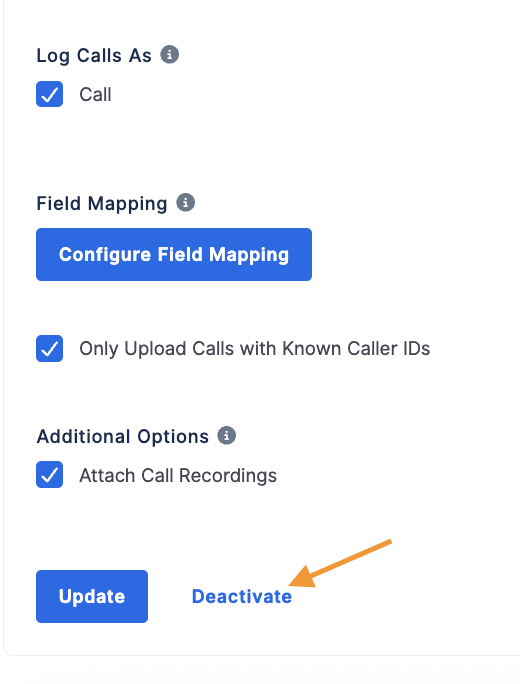
Click Edit > scroll down to the bottom of the Configuration section and click Deactivate.
Step 4: Testing Your Integration
After completing your setup:
- Trigger your configured workflow in Zoho CRM.
- Confirm that the expected data appears in 800.com or Zoho CRM.
- Make any necessary adjustments to your field mappings or workflow conditions.
Need Help?
If you have questions during this process, you can reach out to our support team via email: support@800.com.